Mastering the Back View: Elevate Your Shirt Designs
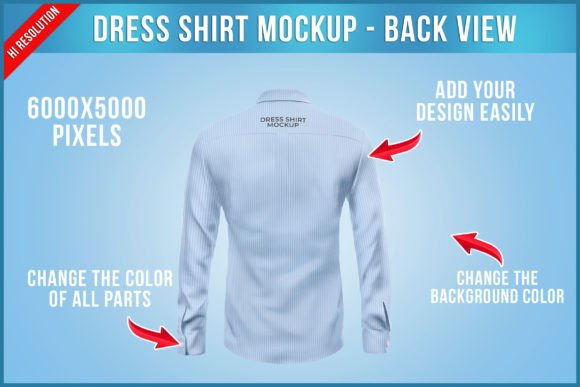
There is a specific, often overlooked, moment in apparel design where the back view tells the entire story. While the front of a dress shirt carries the buttons and the initial "hello," the back view is where the true fit, drape, and tailoring quality are revealed. If you have spent hours perfecting a pattern, selecting a fabric texture, or curating a logo placement for a uniform, you know that a flat lay on a table just doesn't cut it anymore. You need depth. You need context. This is exactly where the Dress Shirt Mockup - Back View becomes an indispensable tool in your creative arsenal.
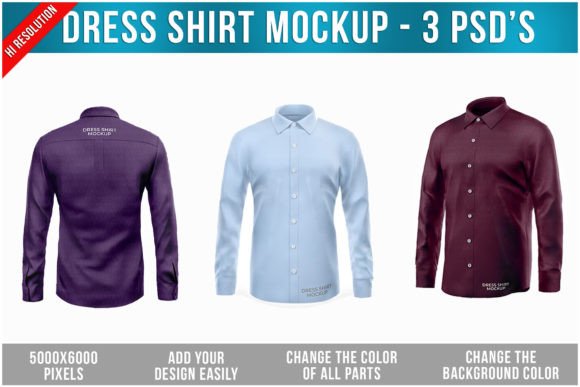
I have worked with countless design assets over the years, but few things streamline the presentation process like a high-quality PSD template. This specific mockup is not just a static image; it is a dynamic environment designed to showcase your artwork with photorealistic precision. Think of it as a digital photoshoot that costs a fraction of the price and takes minutes rather than hours. Whether you are a freelancer pitching a new corporate identity or a small business owner finalizing merchandise, the ability to present your work on a realistic back view changes the conversation from "I hope they like it" to "Look how professional this is."
The Anatomy of a Professional Presentation
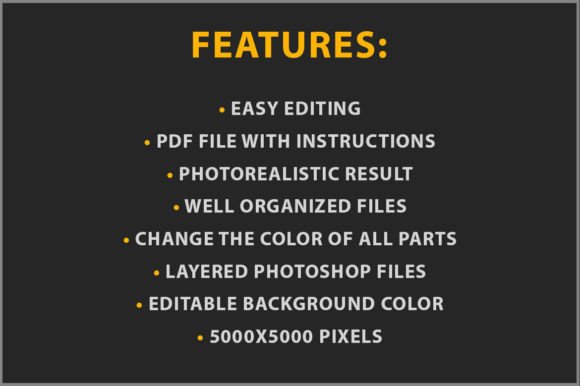
So, what exactly makes this Dress Shirt Mockup - Back View stand out in a sea of generic templates? It comes down to the technical execution. We are talking about a massive resolution of 6.000 x 5.000 pixels. In the world of print and digital publishing, resolution is king. This high fidelity ensures that when you zoom in to show a client the weave of the fabric or the crispness of a collar stitch, the image holds up. It provides the clarity needed for commercial use, meaning you can use these shots in high-end lookbooks, e-commerce listings, or large-format presentations without pixelation.
But resolution is only half the battle. The usability of the file is what saves you time. This template utilizes special smart objects. If you are new to this concept, a smart object is essentially a container within the file that holds your design data. Instead of trying to manually warp your artwork to fit the curves of a shirt—trying to match the perspective of the shoulders or the creases in the lower back—you simply drag and drop your image into the designated layer. The mockup does the heavy lifting, applying the distortion, shadows, and lighting automatically. It turns a complex photo-editing task into a simple copy-paste action.
Layers, Masks, and Customization
One of the most common frustrations in design is being locked into a template. A great mockup should be a starting point, not a cage. This Dress Shirt Mockup - Back View features precise masks and organized layers, giving you granular control over the final look. Do you need to change the color of the shirt to match a specific brand hex code? You can do that instantly. Are the shadows too harsh for a minimalist brand aesthetic? You can dial them back.
This flexibility is crucial for brand identity work. When you are building a visual system for a client, consistency is everything. You might need to show the same shirt in five different colorways to demonstrate how the logo interacts with different fabric shades. Because the mockup is built with layers, you can toggle these changes in seconds. This level of control transforms the tool from a simple image into a comprehensive design asset.
Strategic Applications for Modern Creatives
How does a back view of a dress shirt fit into your broader workflow? The applications are surprisingly vast. For graphic designers and brand strategists, this is essential for corporate uniform presentations. Companies spend significant budgets on employee attire, and they want to see exactly how their logo sits between the shoulder blades or how the brand colors look against the fabric. A static mockup of just the front isn't enough to sell that vision.
For fashion entrepreneurs and e-commerce managers, the back view is often the "closer." Shoppers want to see the tailoring. They want to see if the shirt is boxy or fitted. By incorporating these mockups into your product pages or social media graphics, you provide the full picture. It builds trust. It reduces return rates because the customer knows exactly what to expect.
Even marketers and content creators can leverage this asset. Imagine creating a blog post about corporate culture or a social media campaign about "team spirit." Using a realistic, high-quality image of a branded shirt adds a layer of polish that stock photography often lacks. It allows you to create custom content that feels bespoke to your campaign, helping you stand out in a crowded digital feed.
Practical Tips for Flawless Integration
To get the most out of this Dress Shirt Mockup - Back View, keep a few practical design principles in mind. First, consider your artwork's scale. When placing a logo or graphic via the smart object, ensure the proportions look natural. A logo that is too large can look like a sticker; one that is too small might get lost in the fabric folds.
Second, pay attention to lighting. The mockup comes with built-in shadows and highlights, but your artwork needs to "sit" in that light. If your design is a solid block of neon color, it might look a bit flat against the realistic fabric texture. Try using slightly muted tones or adding a subtle texture overlay to your design to help it blend seamlessly with the shirt's material.
Finally, use this for font pairing and typography presentations if you are selling apparel graphics. Showing a typographic design on a curved, physical surface (like the back of a shirt) is much more effective than showing it on a plain white rectangle. It helps the client visualize the modern typography in a real-world scenario.
Ultimately, the goal is to save time and increase the perceived value of your work. By using a premium font